Install OpenClaw
This guide walks you through installing OpenClaw from the nilbox Store and completing the initial setup after installation. You only need to click one button — nilbox takes care of the rest.
Before You Start
- The nilbox desktop app must be installed and ready to launch.
Linux for nilboxmust be set up on first launch.- A nilbox account is required to install apps from the Store.
If any of the above is missing, complete Installation first.
Step 1: Open the Store
-
Click the
Startbutton in the upper right of the nilbox screen to start the runtime.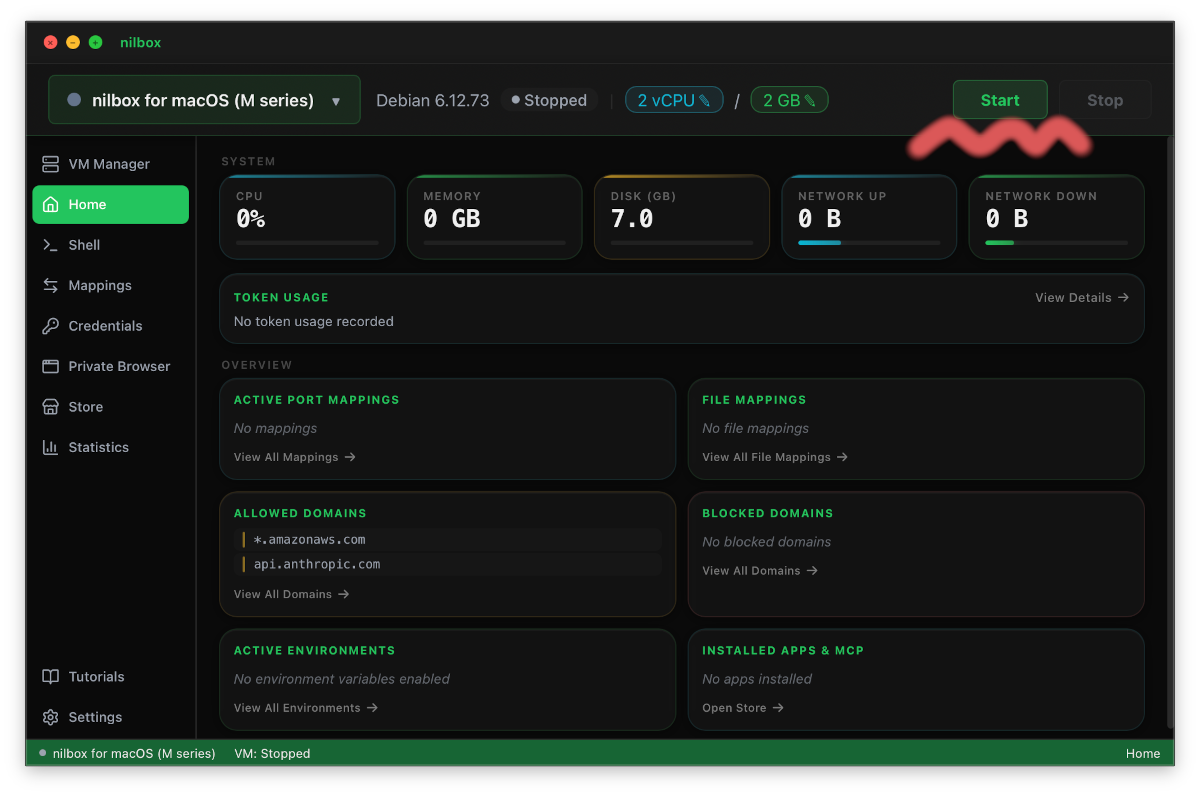
-
Once the runtime is ready, select the
Storemenu from the left sidebar.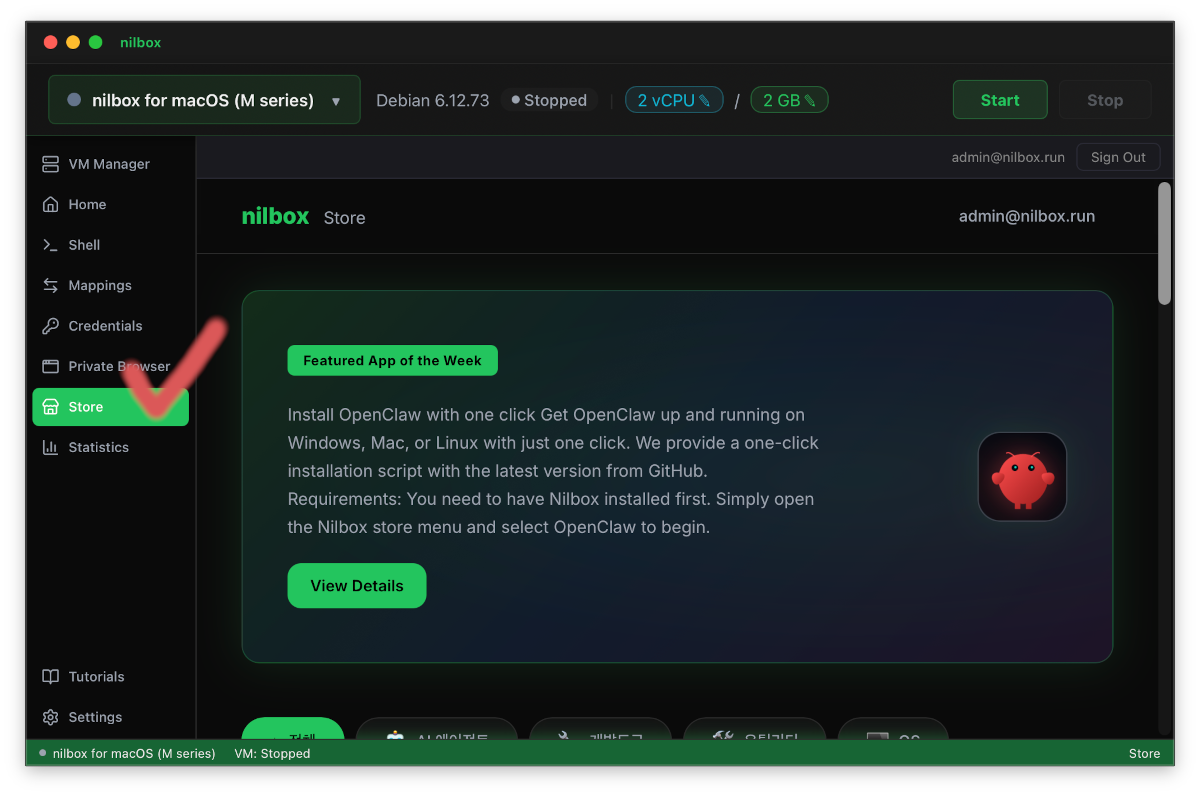
Step 2: Select OpenClaw
Find and select OpenClaw from the Store list to open its detail page.
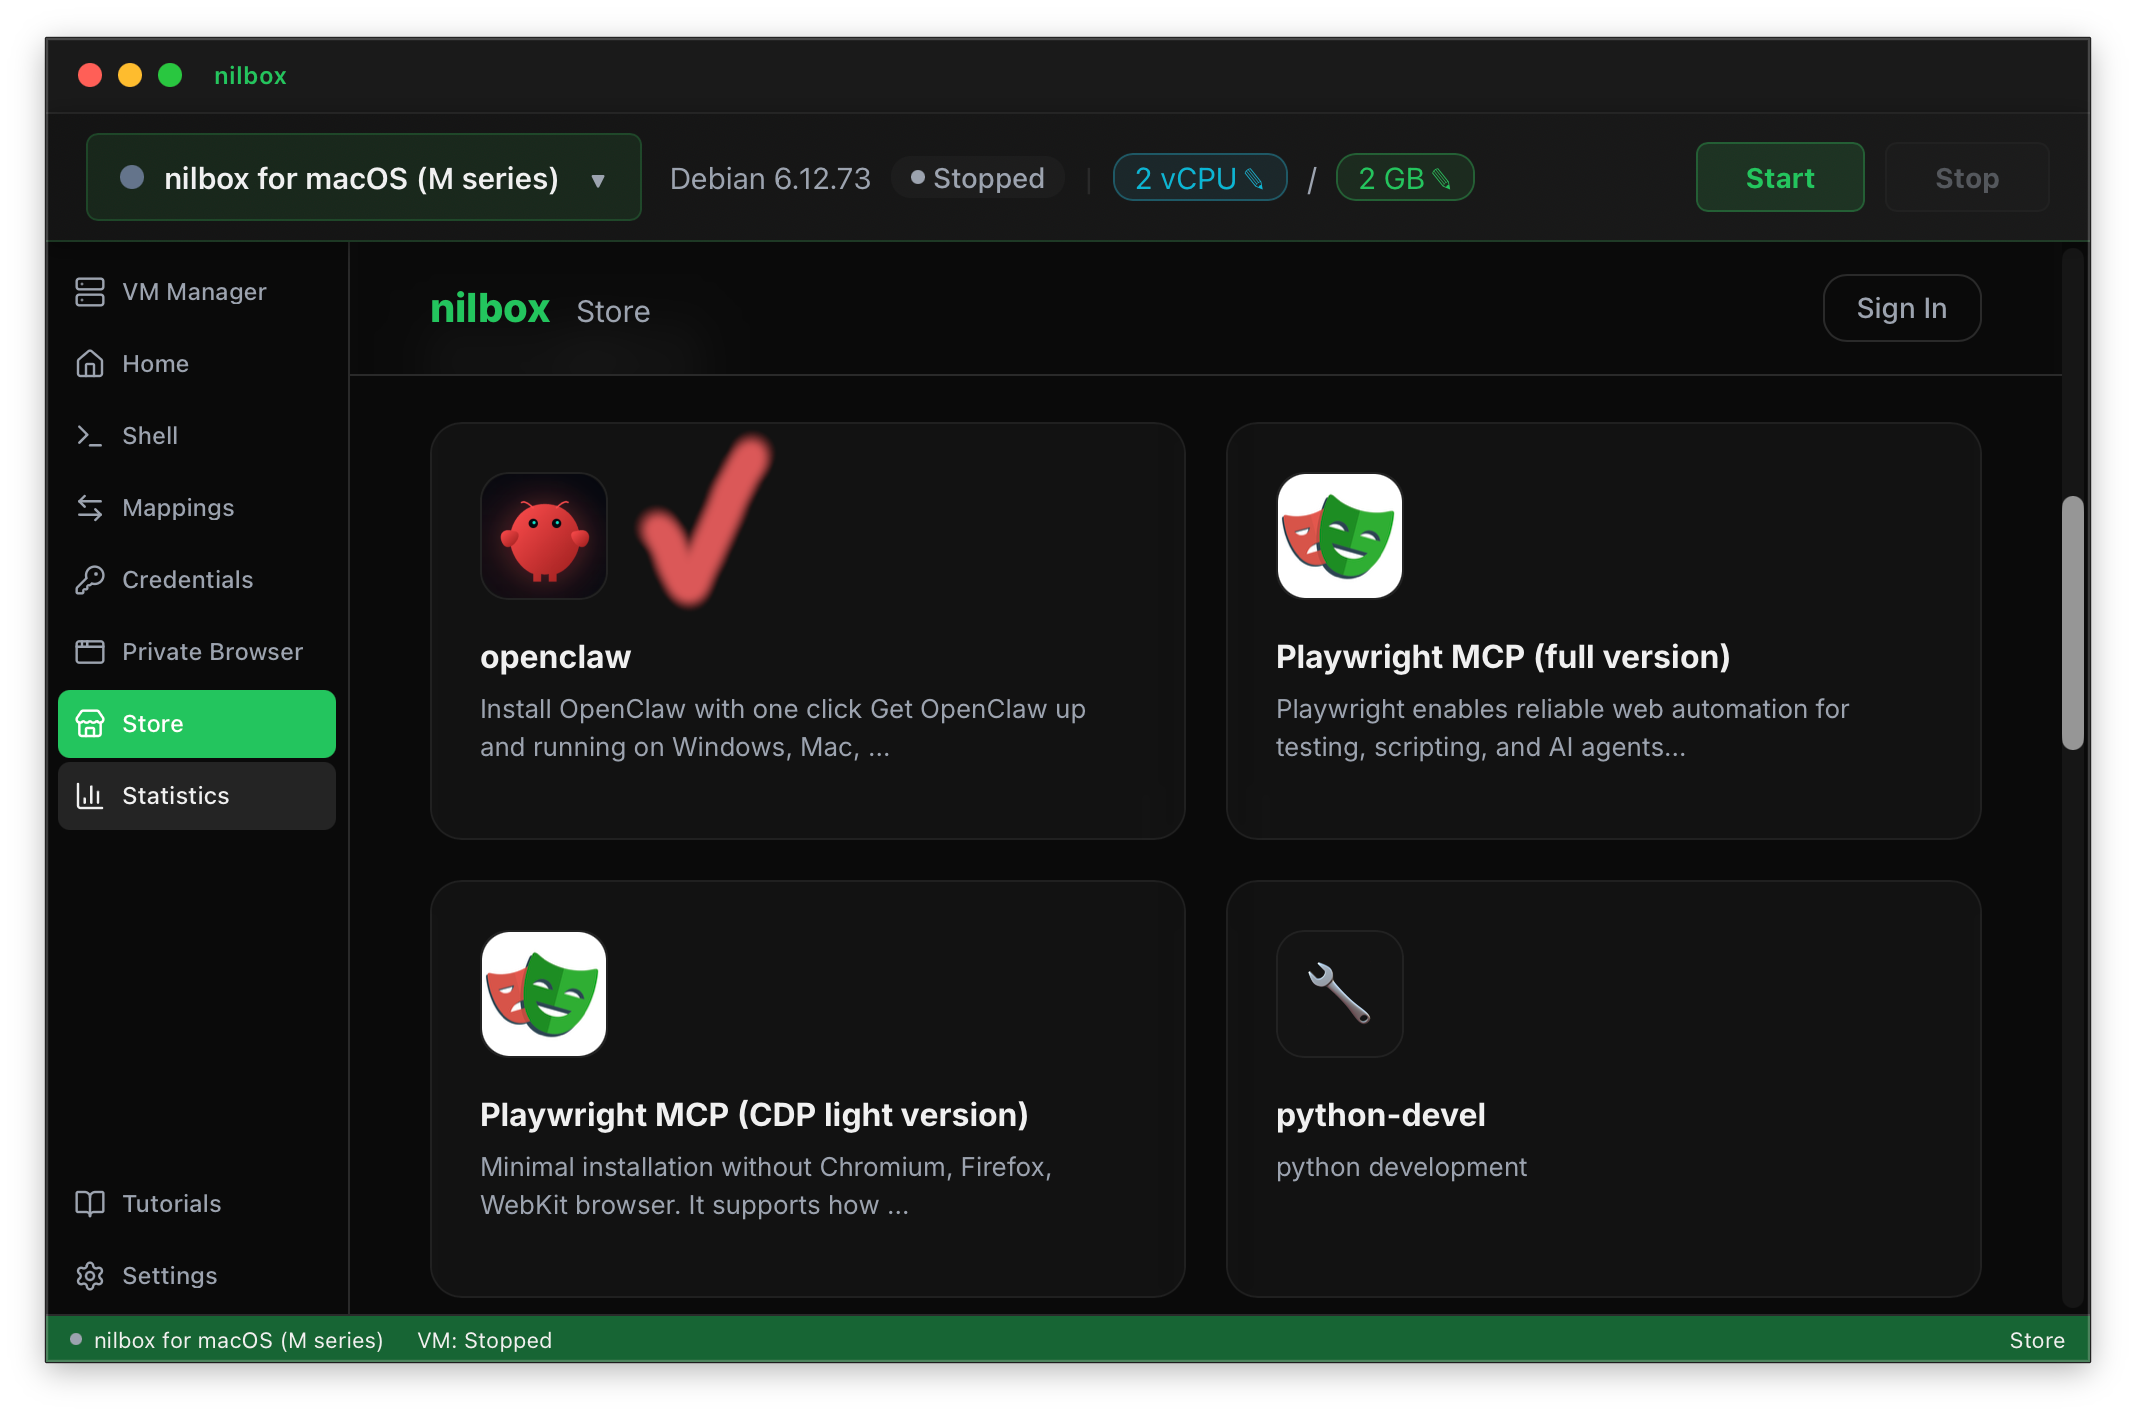
The detail page shows a description of OpenClaw, its version, and the Install button.
Step 3: Click the Install Button
- Click the
Installbutton on the OpenClaw detail page. - If you are not signed in, you will be prompted to sign up or log in with a nilbox account.
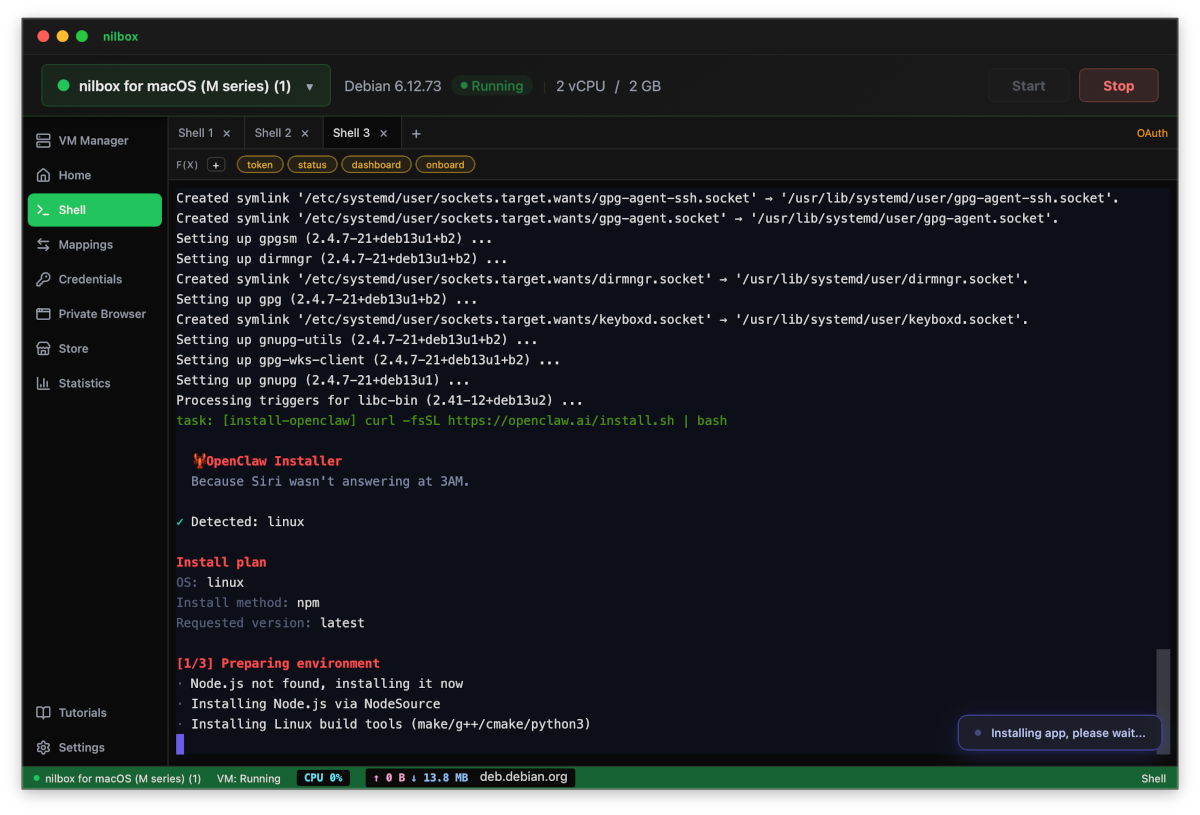
- Once authenticated, the installation begins automatically.
What nilbox does behind the scenes:
- Prepares all Linux dependencies required to run OpenClaw.
- Downloads the official OpenClaw installation file directly from the OpenClaw provider's website.
- Launches the installer automatically inside
Linux for nilbox.
The nilbox Store does not host OpenClaw installation files. It only provides a verified installation script; the actual file is downloaded from the OpenClaw provider's website. See nilbox Store for details.
Step 4: Run the Installer
The OpenClaw installer screen appears automatically inside nilbox. Follow the on-screen instructions.
-
Confirm that the installer is running.
-
Accept the license agreement when prompted.
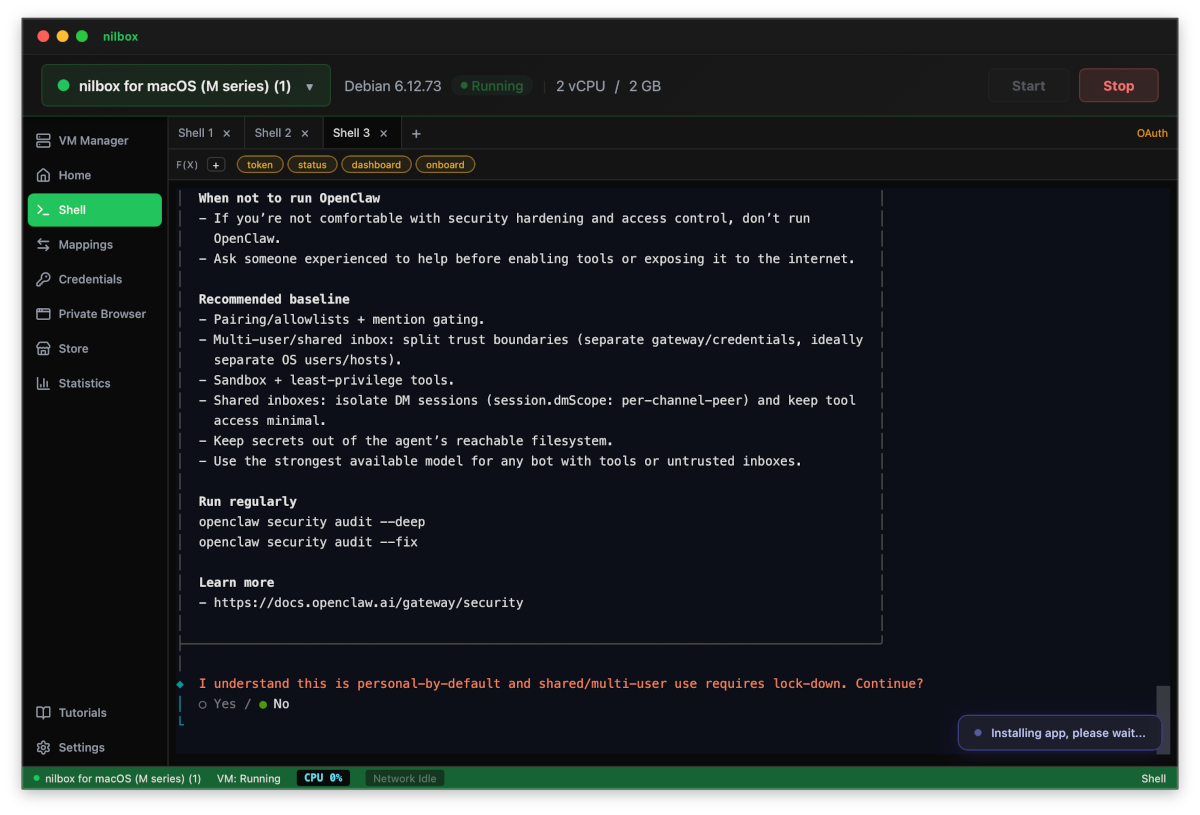
-
Select Quick Start.
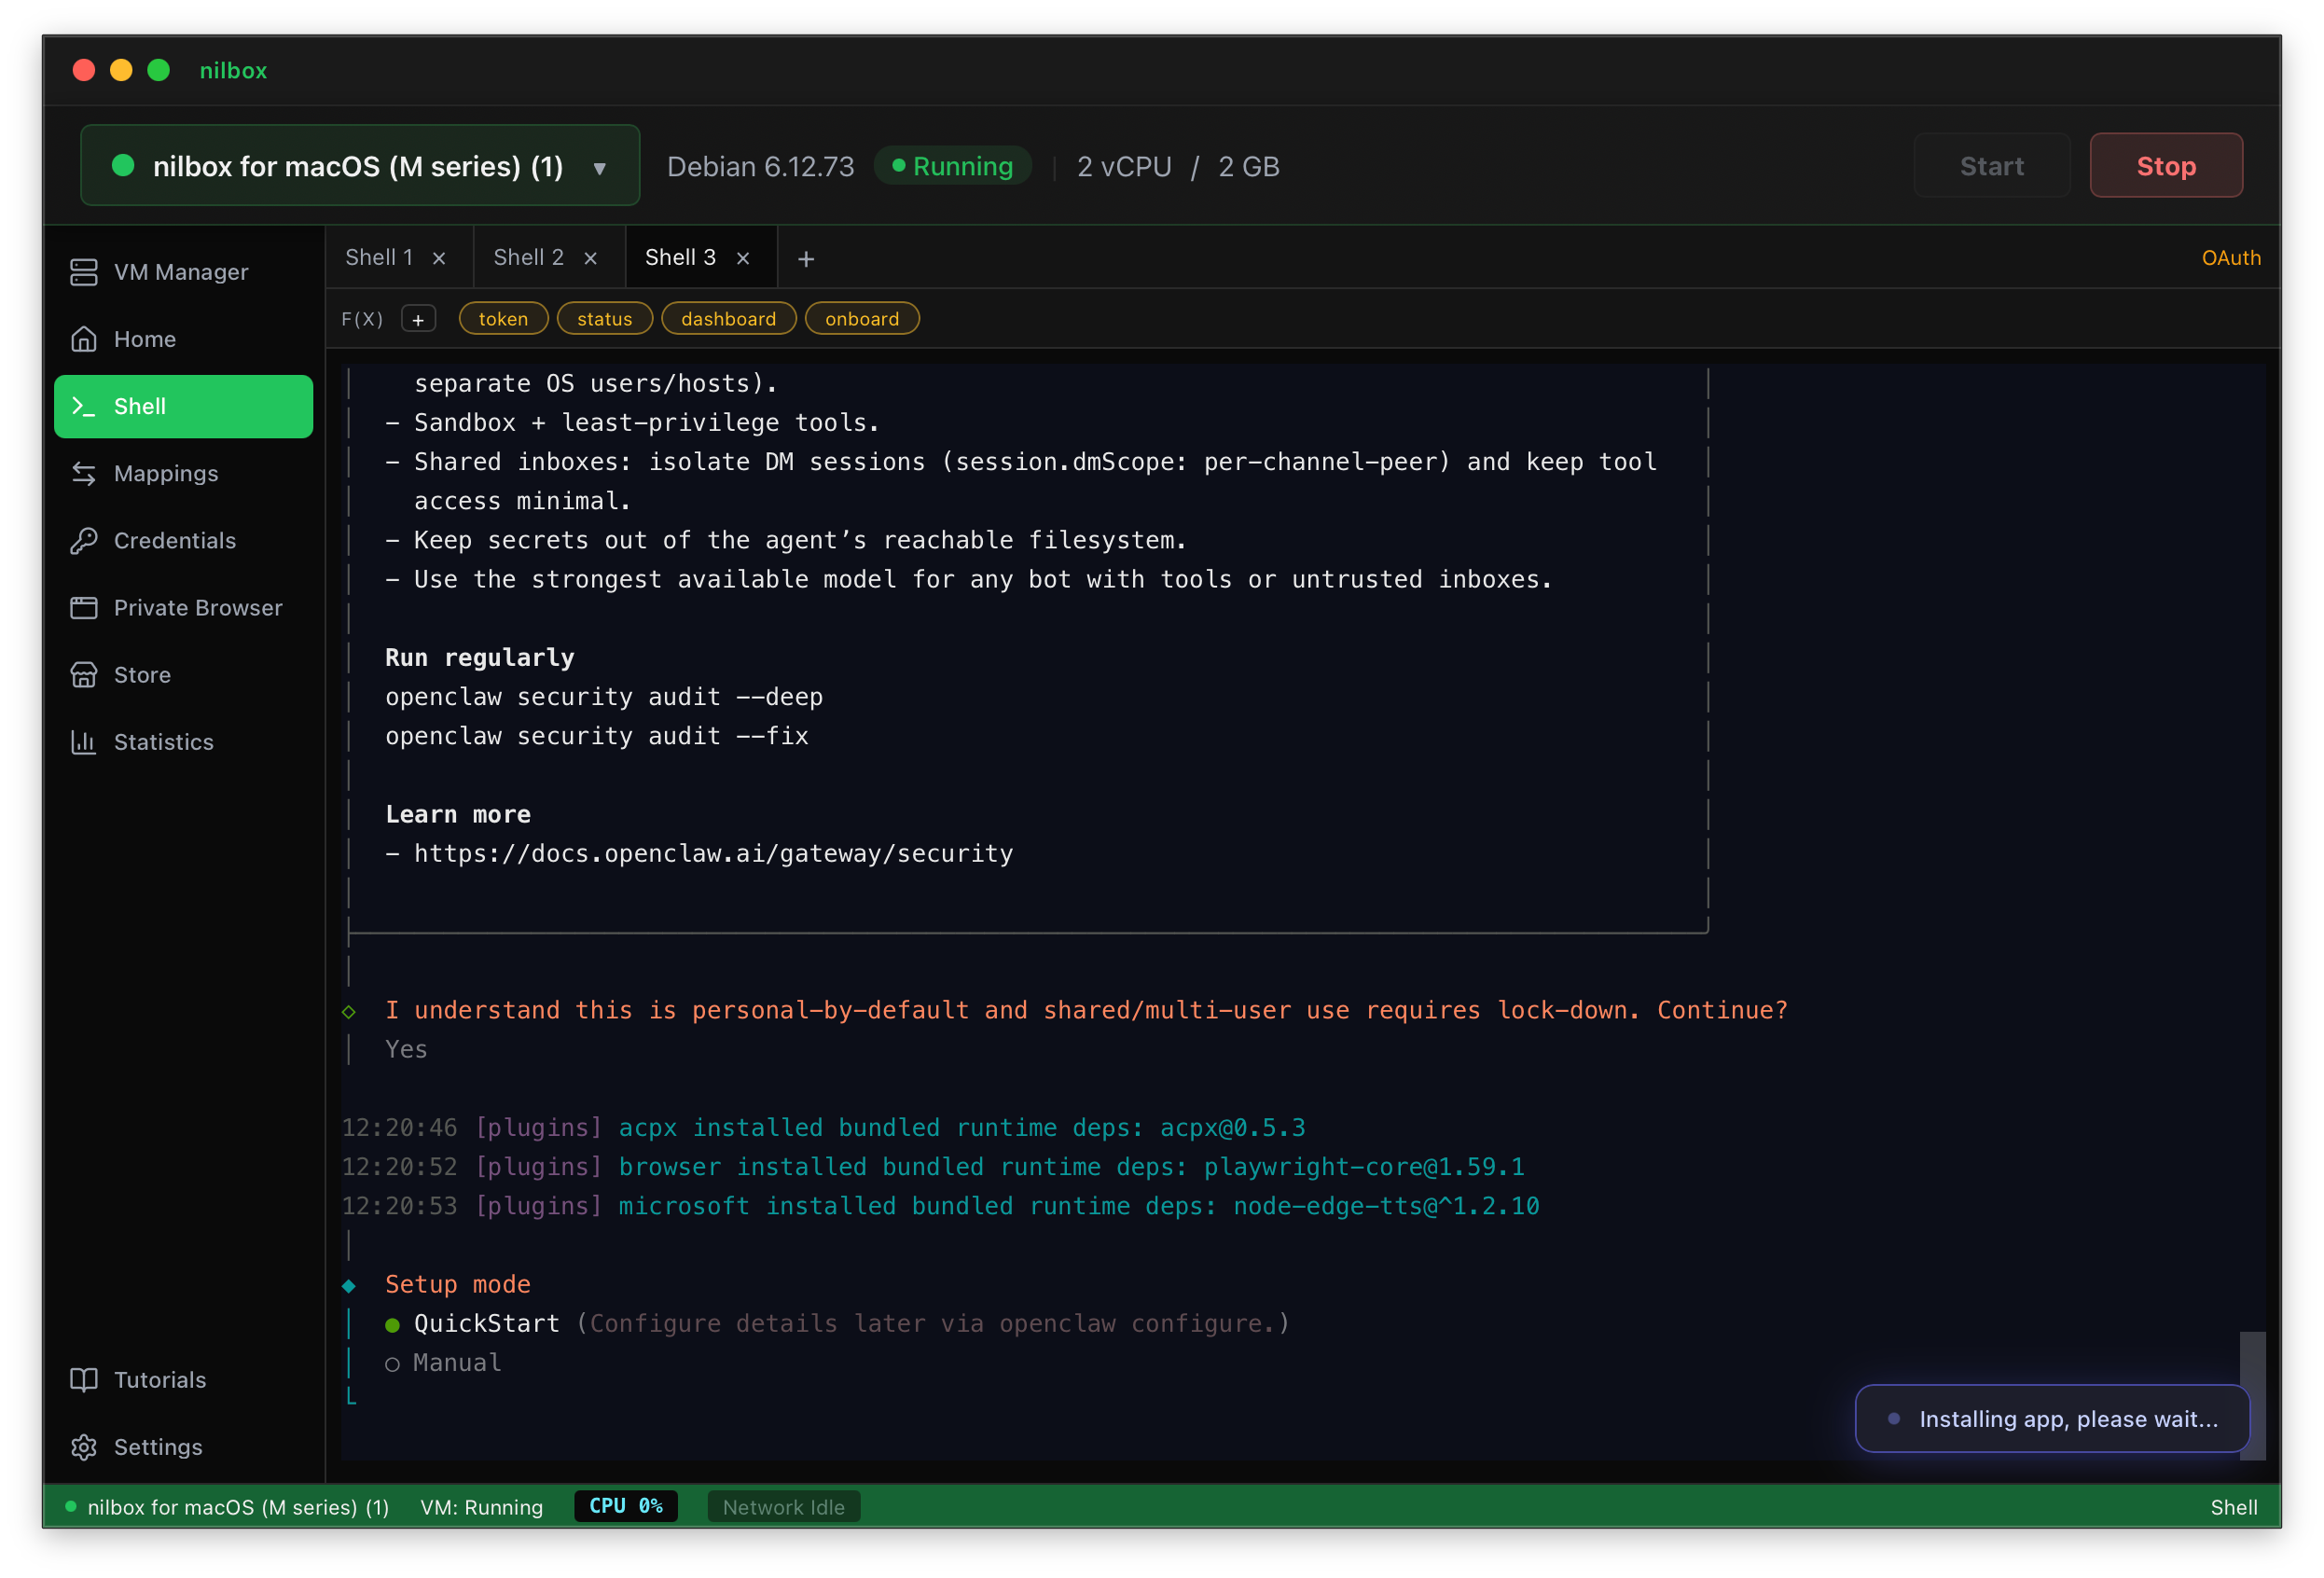
-
As an example, select OpenAI Codex.

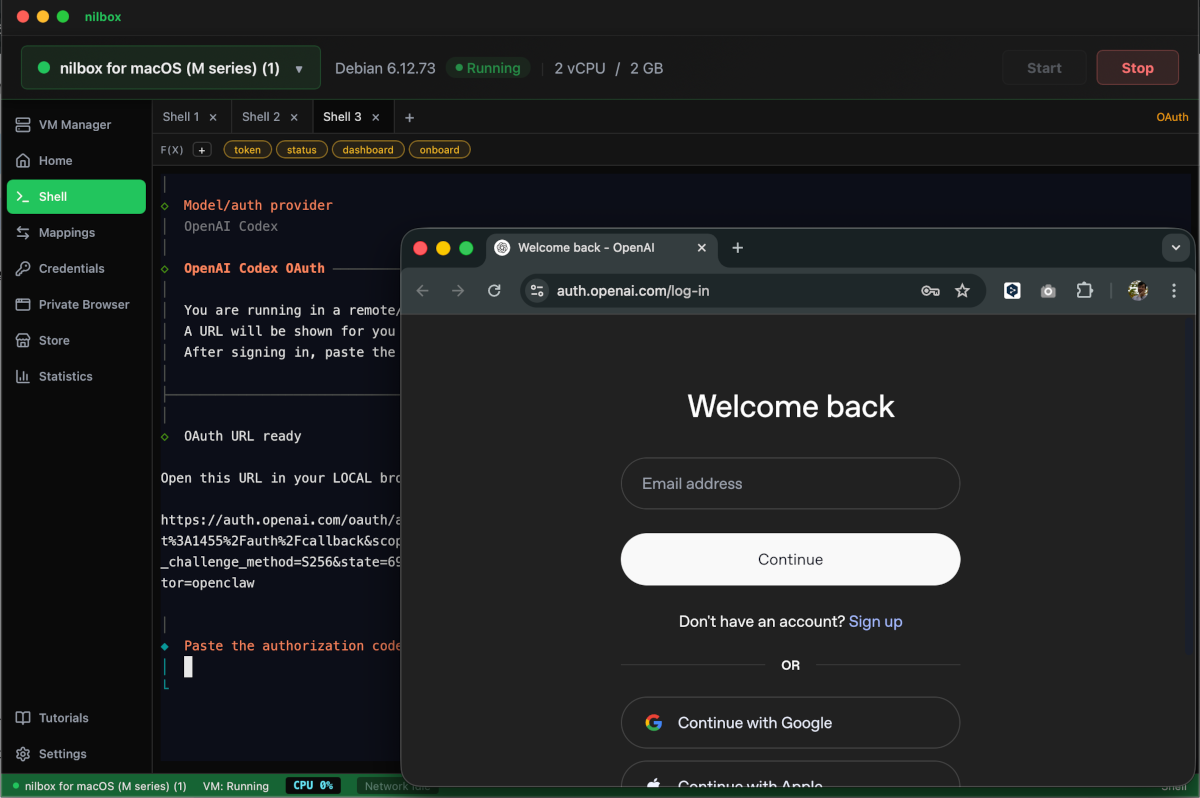
-
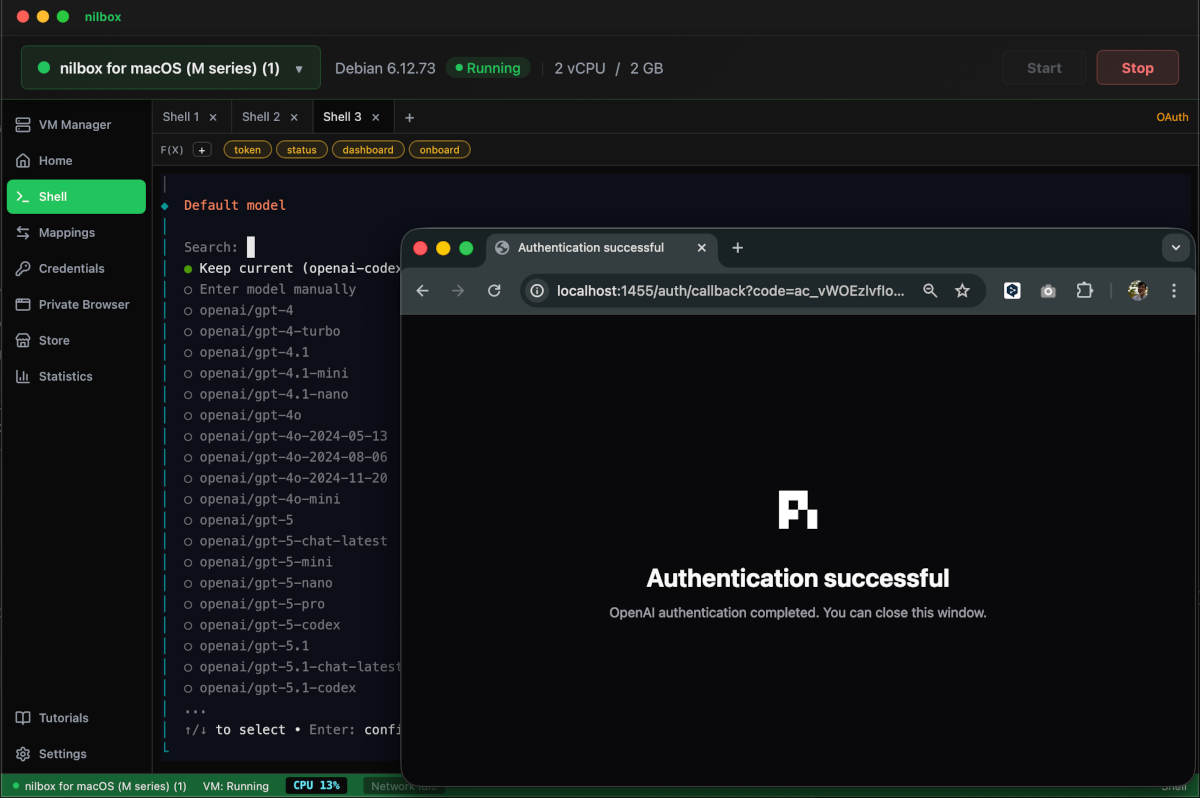
Skip Channel selection / skip Search Provider / skip Skill / skip Hook.
-
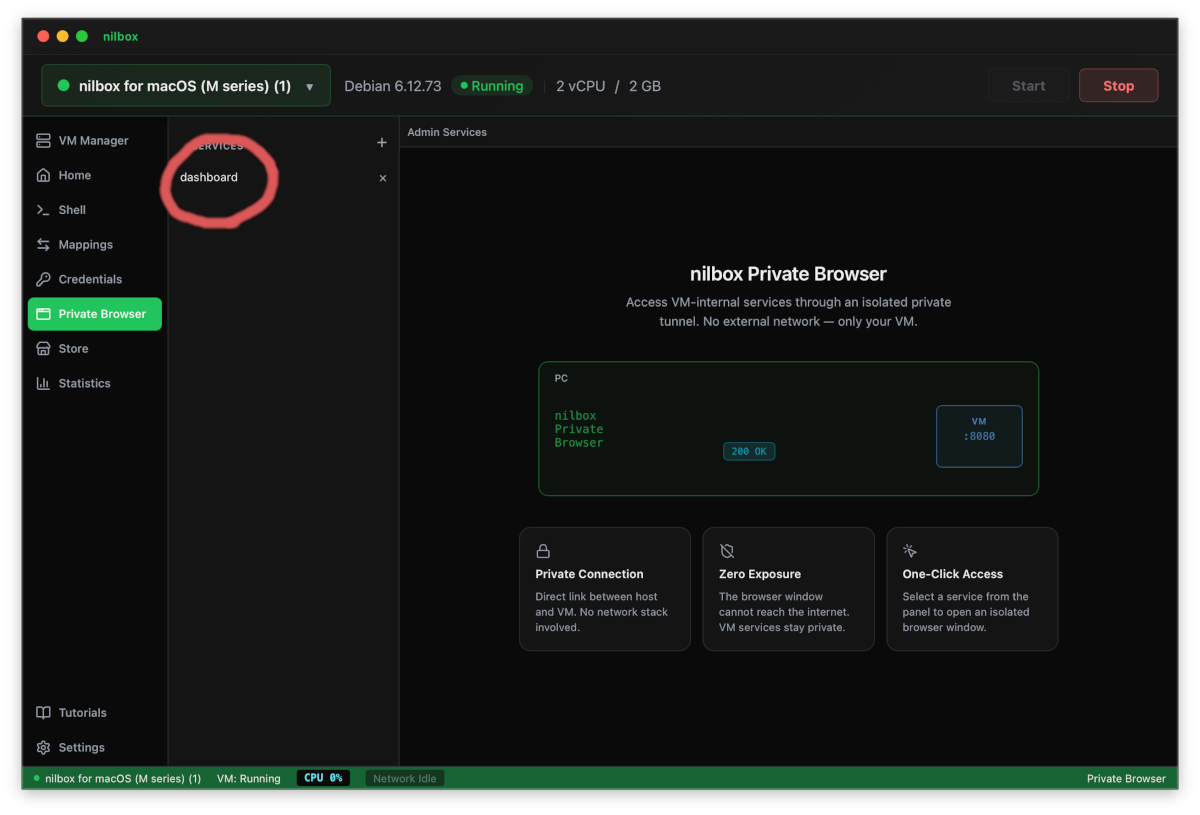
After finishing, open the Dashboard.
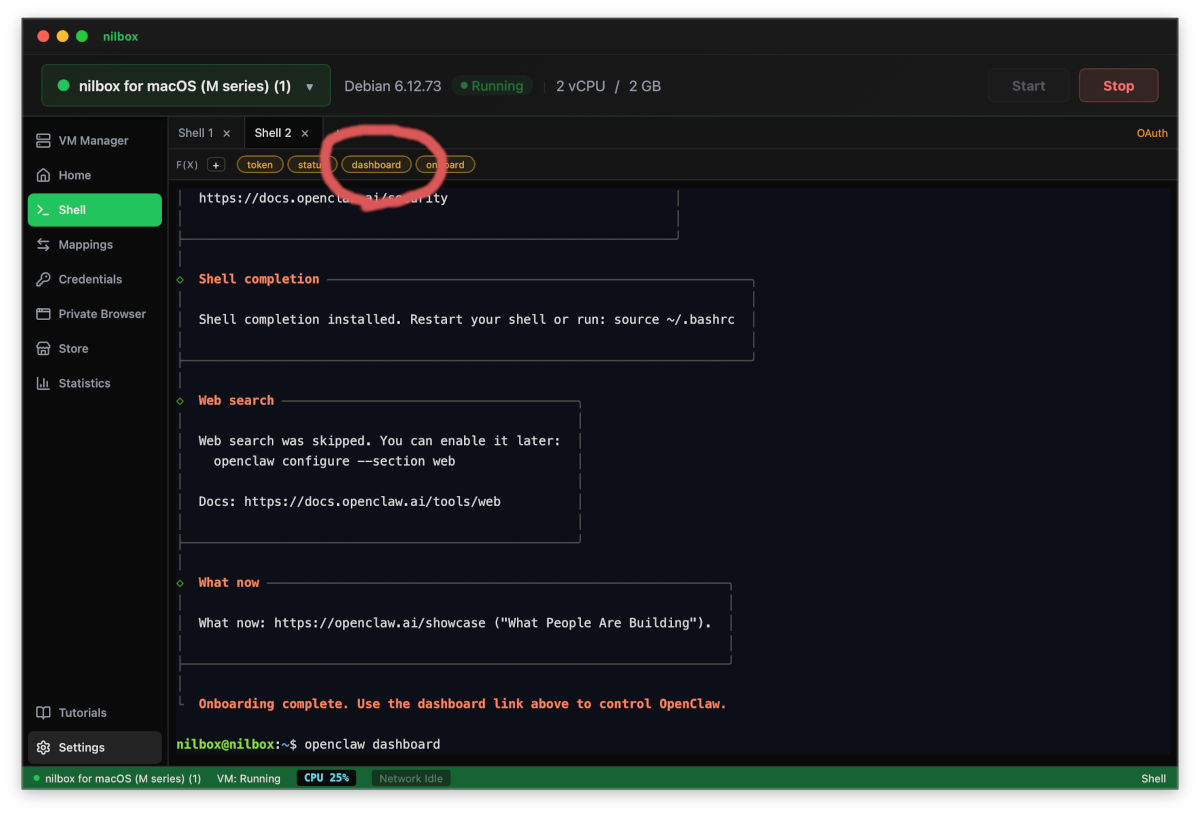
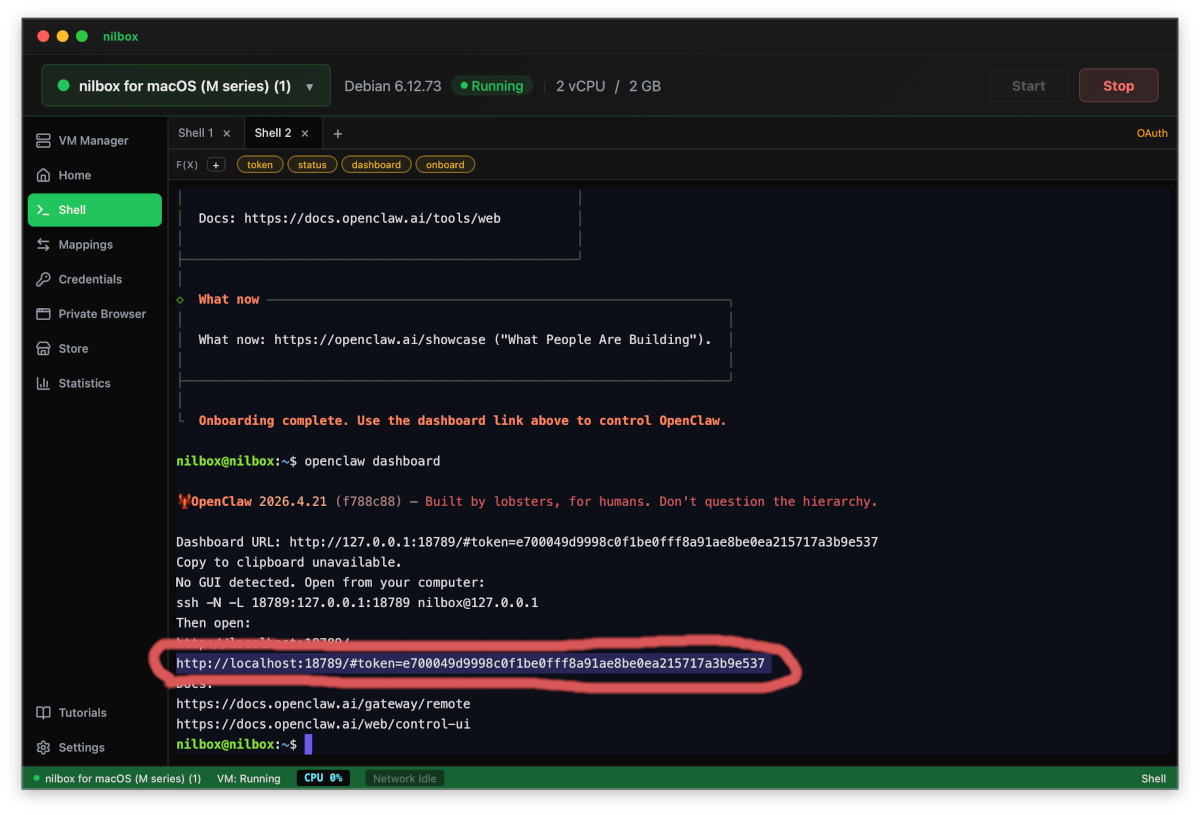
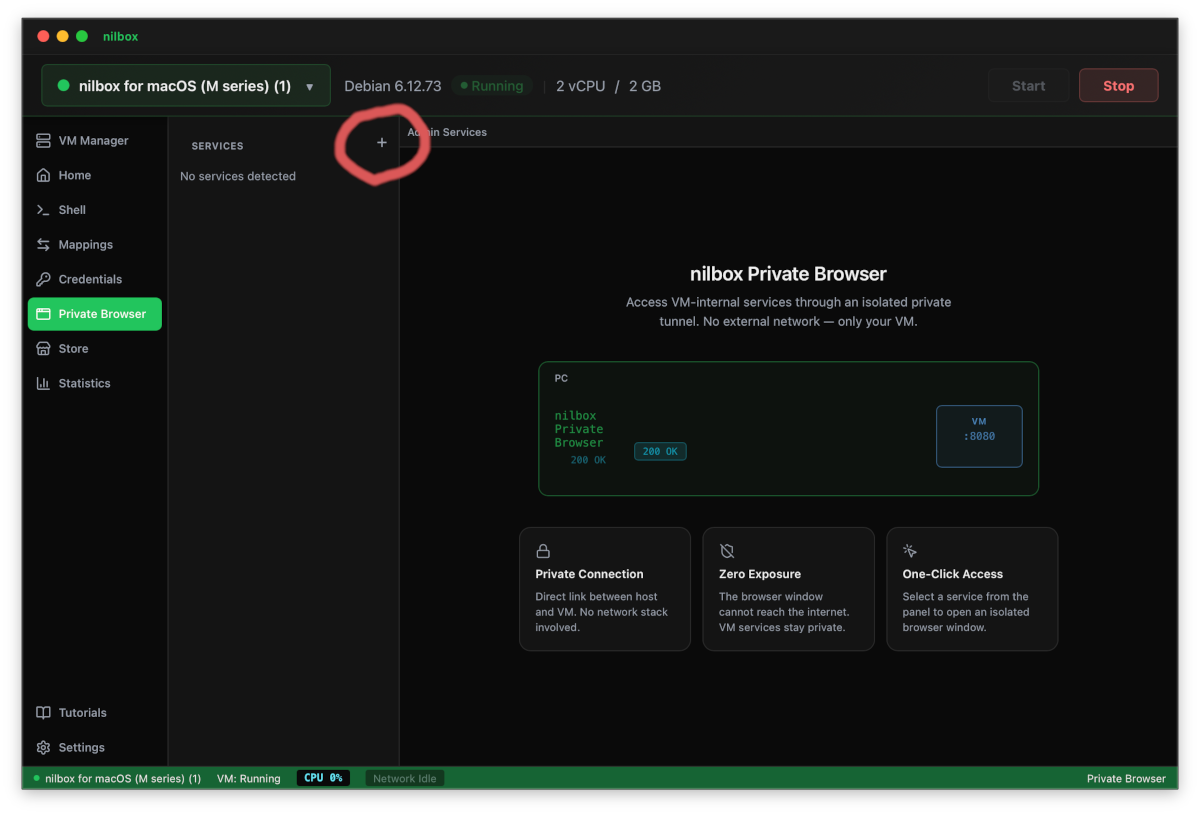
-
Register the Dashboard access URL — in the Private Browser screen, click the Plus (+) button to add it.
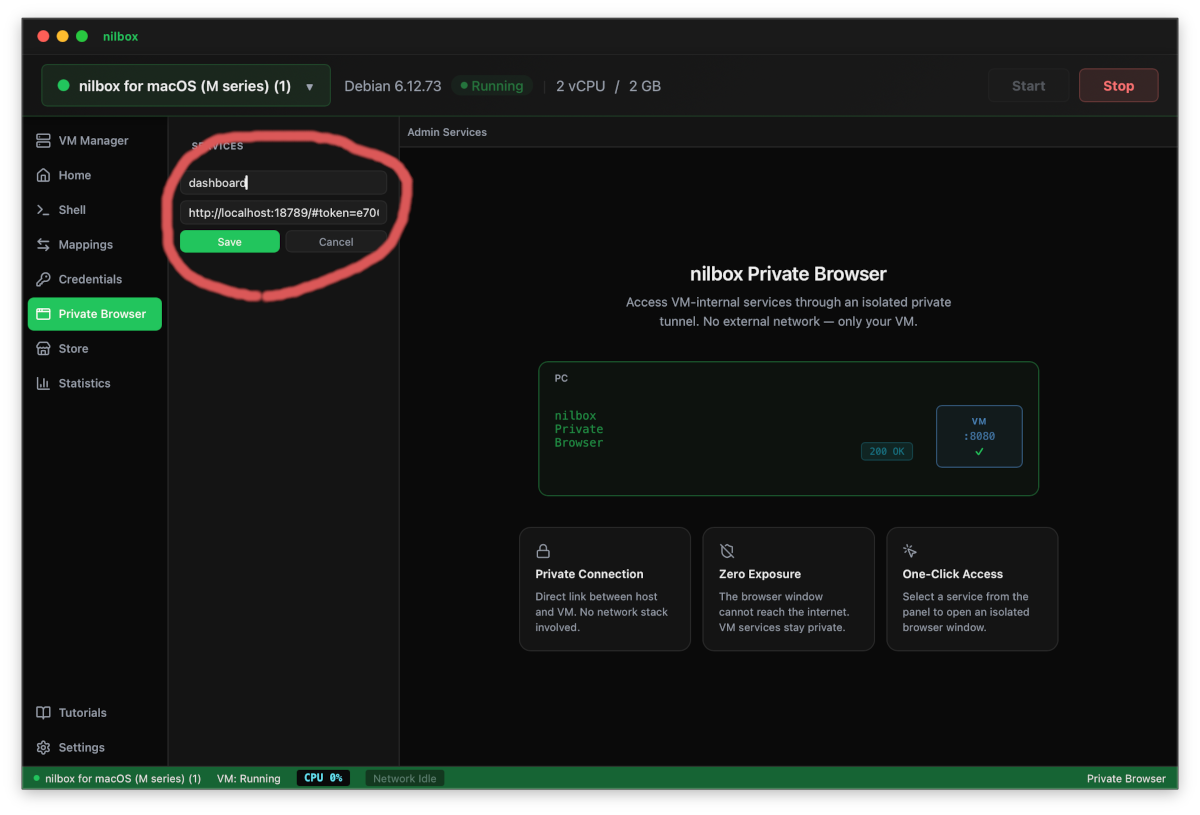
-
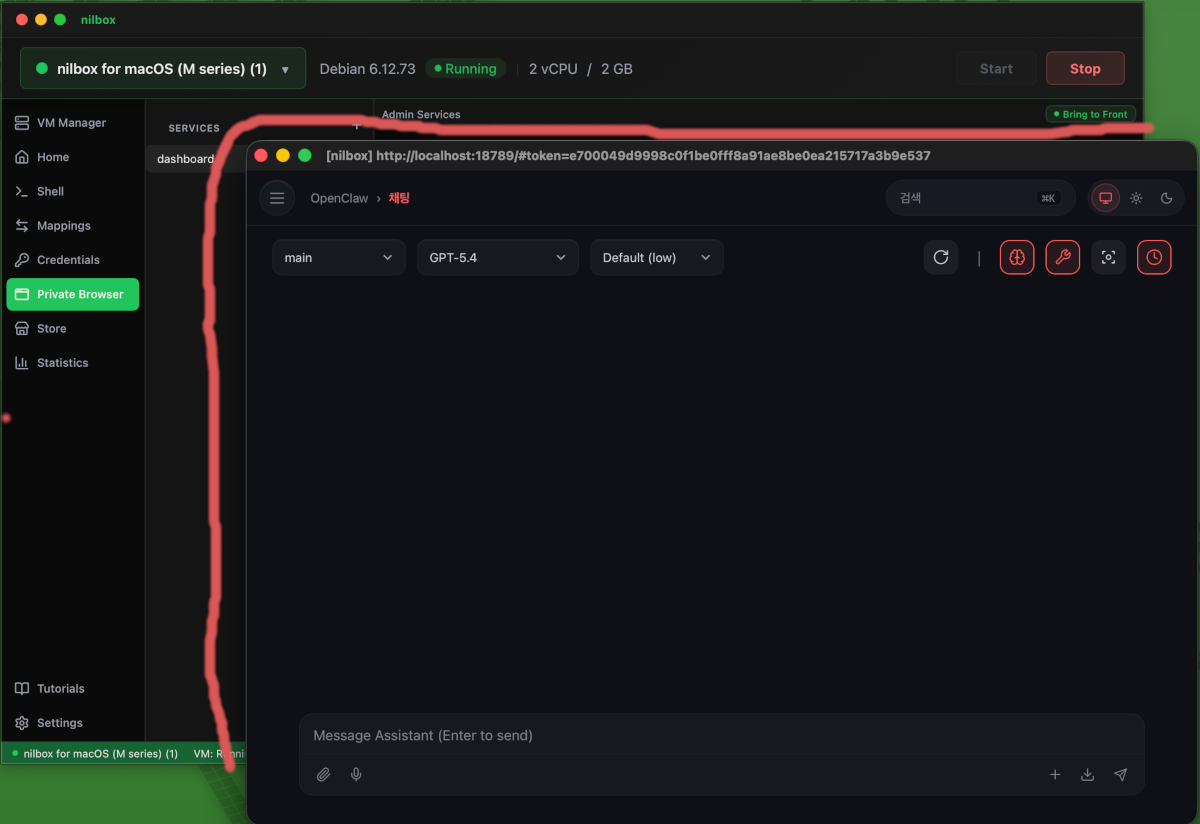
Select the Dashboard to open the OpenClaw admin screen.
OpenClaw is installed inside Linux for nilbox. No files are written to your Windows, macOS, or Linux host. Removing nilbox removes OpenClaw with it.
The API token you enter is protected by nilbox's Zero Token Architecture. The real token value is stored encrypted only in nilbox, and OpenClaw running inside Linux for nilbox only sees a placeholder value. See Running OpenClaw Safely for how this works.
Verify the Installation
You can confirm OpenClaw was installed and set up correctly if:
- You can open the OpenClaw admin screen from the Private Browser menu and sign in.
- Running a simple command or prompt returns a response from the connected LLM.
Troubleshooting
- The Install button is disabled — Make sure you are signed in to nilbox and that the runtime is running (
Startbutton clicked). - Installer download fails — Check your internet connection. The installer file is downloaded from the OpenClaw provider, so the host network must be able to reach it.
- Out of disk space during installation — Increase the
Linux for nilboxdisk size. See the disk size guidance in Installation. - Setup screen does not appear — Close and relaunch OpenClaw from nilbox. The initial setup screen is only shown the first time OpenClaw starts.
Related Docs
- Installation — Install the nilbox desktop app and
Linux for nilbox - Install Agent — Shorter quick-start version of this flow
- nilbox Store — How the Store installs apps
- Running OpenClaw Safely — Security architecture behind OpenClaw on nilbox