Installation
To get started with nilbox, first install the desktop app, then install the Linux for nilbox operating system during the first launch.
Linux for nilbox is a dedicated Linux environment managed by nilbox, and is the operating system where agents like OpenClaw actually run. Regardless of whether your current OS is macOS, Windows, or Linux, this Linux environment is installed separately.
Step 1: Download the Desktop App
Download the nilbox desktop app for your current operating system.
Download Links
Visit the nilbox Download Page and download the version for your operating system:
System Requirements
Check the following requirements before installation:
| Platform | Minimum | Recommended |
|---|---|---|
| macOS | 13.0 (Ventura) | Latest version |
| Windows | Windows 10 | Windows 11 |
| Linux | glibc 2.29+ | Ubuntu 18.04 LTS+ |
Install the Desktop App
Install the nilbox desktop app according to your operating system.
macOS
- Download the
.dmgfile from the download page. - Open the downloaded
.dmgfile. - Drag the nilbox app icon to the
Applicationsfolder. - Launch nilbox from
Applicationsor Spotlight.
Windows
- Download the installer (
.exe) from the download page. - Run the installer and follow the on-screen instructions.
- Select an installation path. Using the default path is recommended.
- Complete the installation.
- Launch nilbox from the Start menu or the desktop shortcut.
Linux
Option A: .deb Package (Debian/Ubuntu)
- Download the
.debfile from the download page. - Install the package:
sudo dpkg -i nilbox-*.deb
- Launch nilbox from the application menu or terminal:
nilbox
Step 2: Install Linux for nilbox
After installing the desktop app, the Linux for nilbox installation process begins the first time you launch nilbox.
What is Linux for nilbox?
Linux for nilboxis a Linux operating system directly managed by nilbox.- Agents like OpenClaw run inside this Linux environment.
- It is installed separately regardless of whether your host OS is macOS, Windows, or Linux.
- In other words, the desktop app is installed on your host OS, while the agent runtime environment is set up in
Linux for nilbox.
Installation Flow
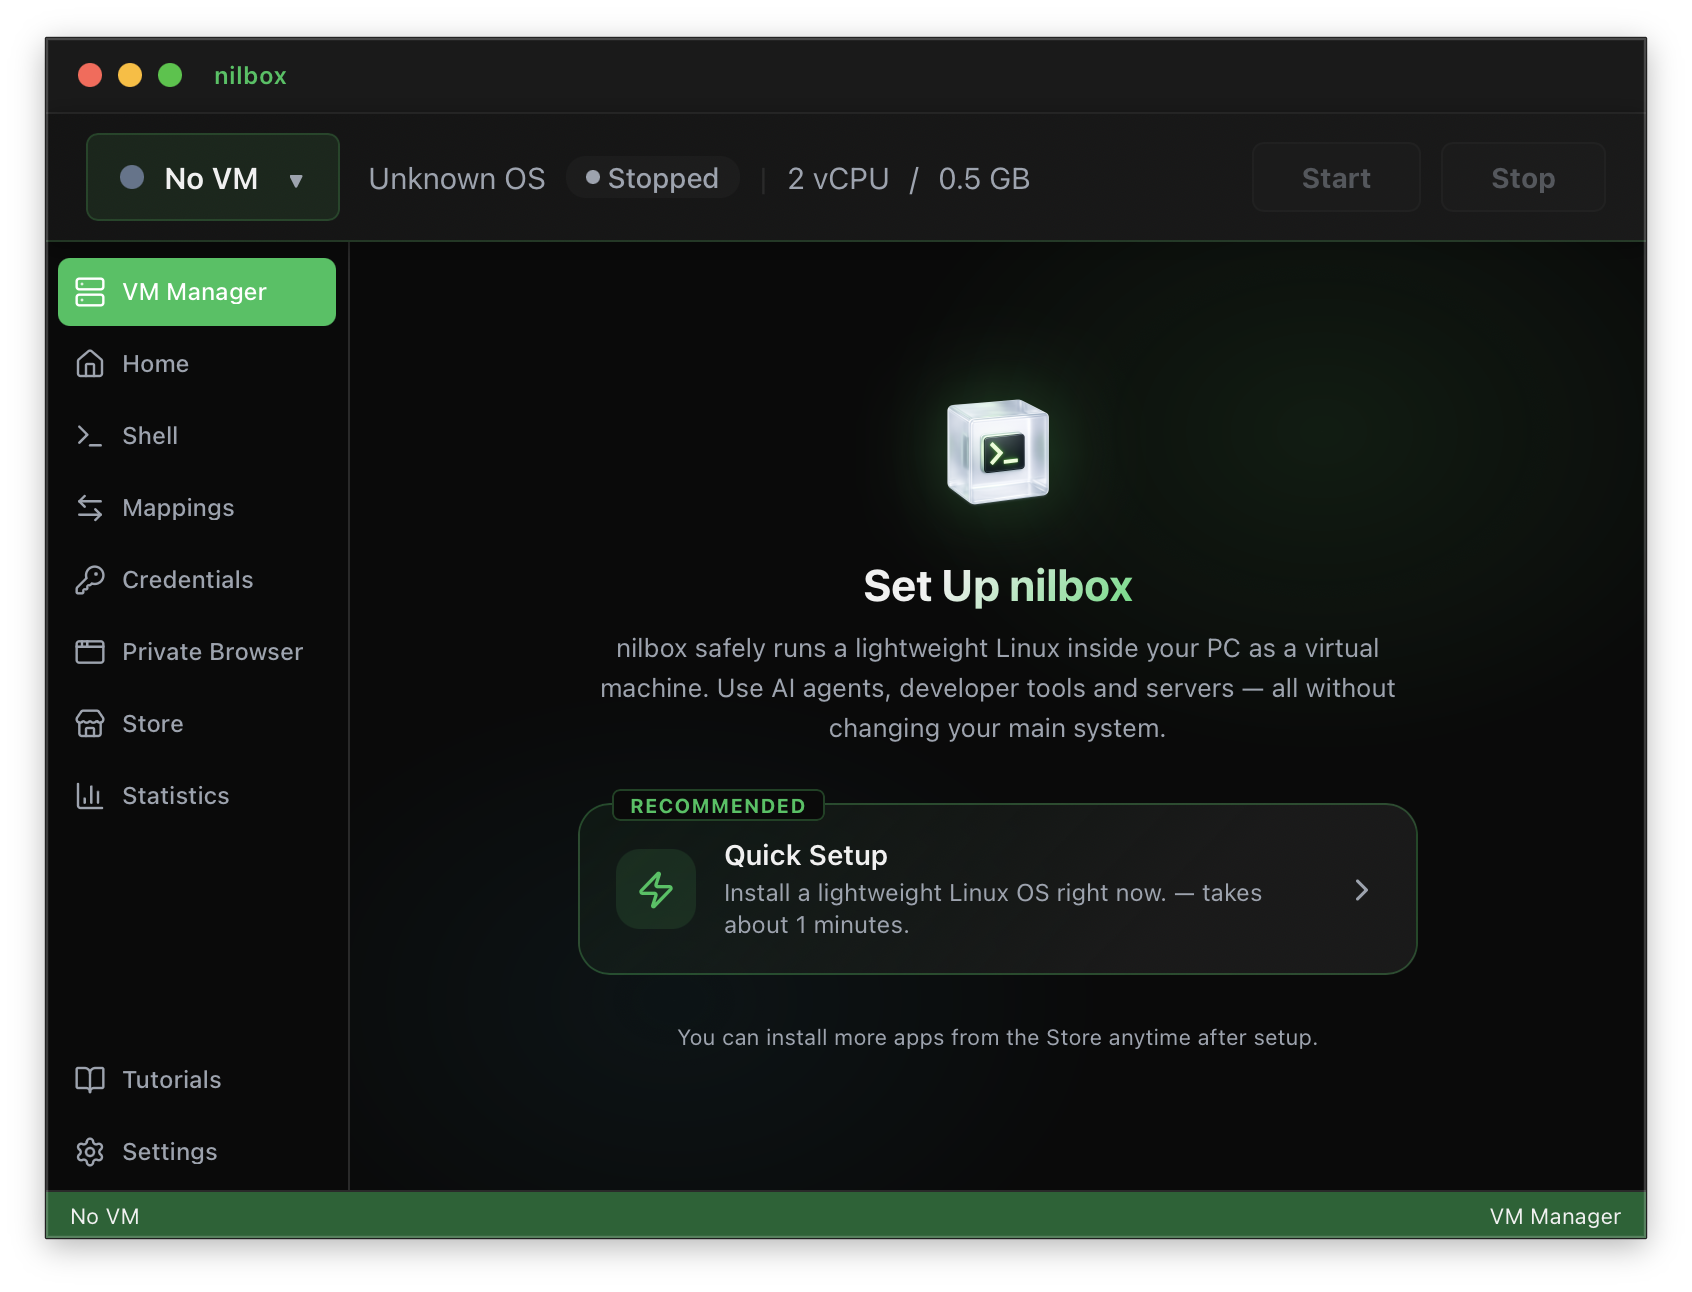
- Launch nilbox for the first time.
- When the
Linux for nilboxinstallation screen appears, proceed with the Set Up nilbox installation.
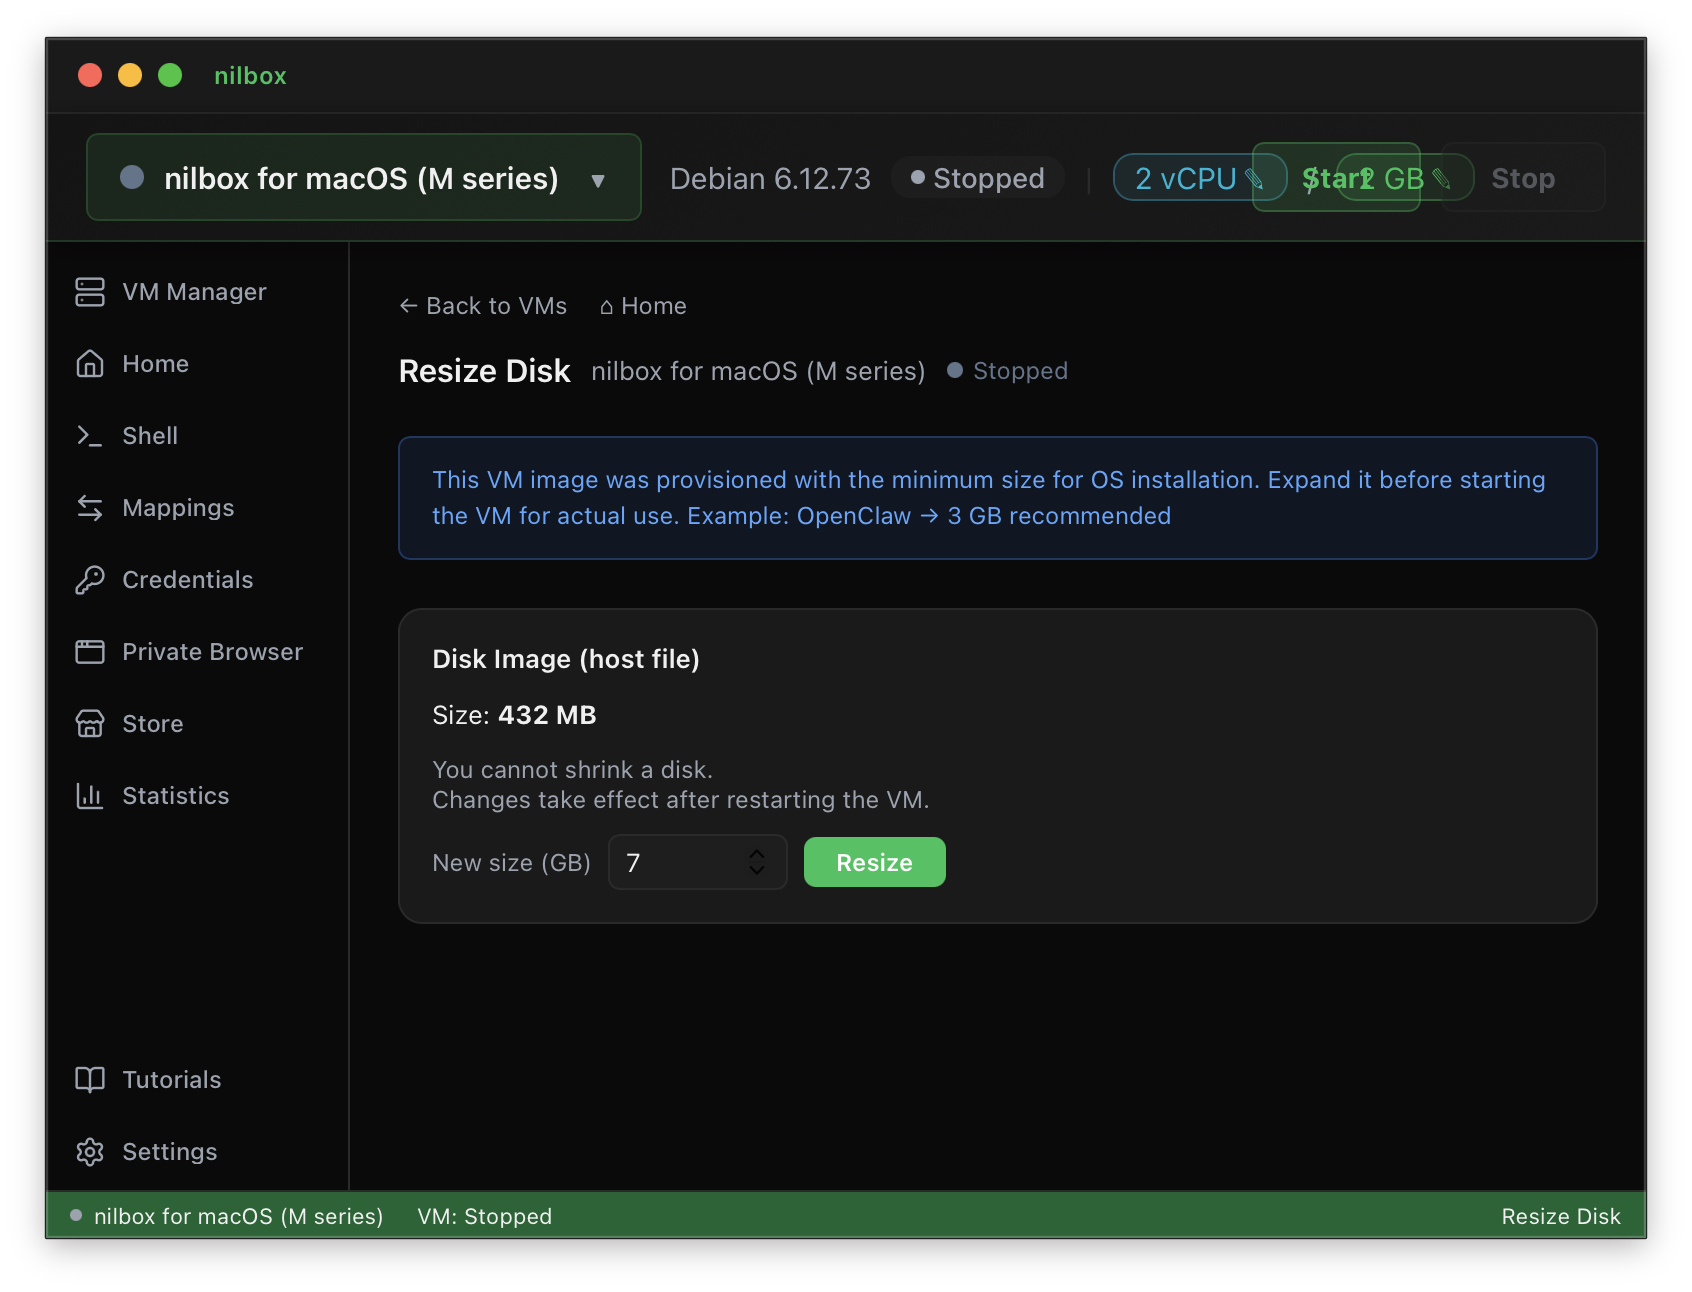
- When the disk size configuration screen appears, review the default value.
- The initial disk size is set to the minimum, so you must increase it by at least
4–5 GBabove the default. - If you have spare disk space, it is recommended to set it generously for future use.
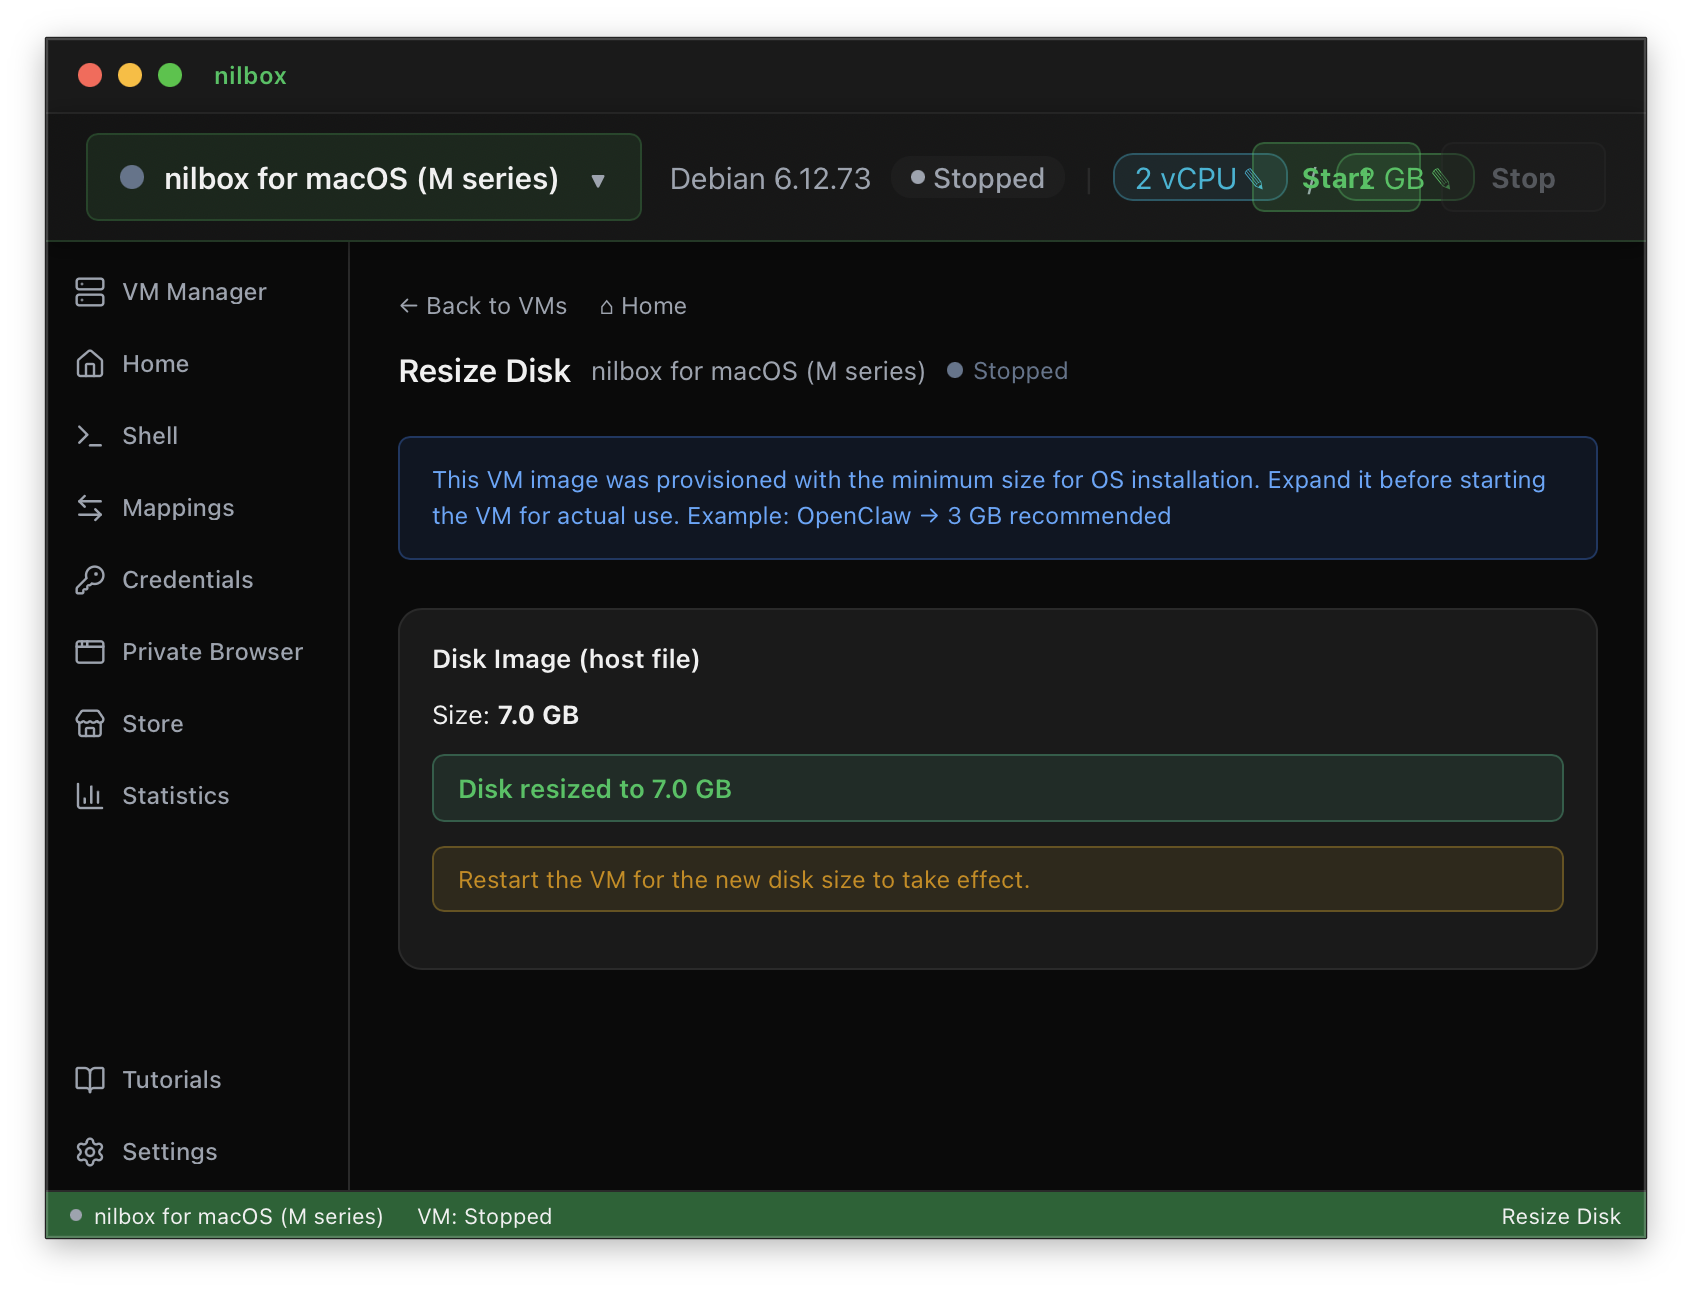
- nilbox automatically prepares the required Linux environment and runtime configuration.
- Once installation is complete, nilbox is ready to run agents based on that Linux environment.
The default disk size is set to the minimum capacity. If you install with too little space, you may quickly run out of room during agent execution, package installation, and saving work files — so it is best to allocate plenty of space at installation time.
nilbox does not run agents directly on the host operating system. Instead, it sets up a consistent Linux runtime environment managed by nilbox, so agents run the same way regardless of your OS.
Verify Installation
Check the following to confirm that installation completed successfully:
- The nilbox application launches without errors.
- On first launch, the
Linux for nilboxinstallation flow is shown, or you can confirm its completed state. - The disk size is set to at least
4–5 GBabove the default minimum. - The nilbox screen opens without errors.
- You are ready to install agents.
If you encounter any issues, refer to the troubleshooting documentation to be added later.
Next Steps
Once installation is complete, proceed to the next step:
- Basic Setup — Configure your initial workspace
- Creating Your First Project — Start your first project